Cross-linking is very powerful tool. If used wisely it can increase your site page views. But search engines will drop your site from the first page if your abuse with cross-linking.
Terms Descriptions plugin designed to automatically create links and fully control their appearance and a total quantity.
For example, you have some articles about PHP programming. It is obvious that acronym PHP is used more than once in this articles. So you can write additional page about PHP, for example, with general information about this programming language, links to main PHP resources, etc. And then link every article with word PHP to this new page.
Of cause, it is very hard to do this work manually. And in this situation Terms Descriptions plugin can automate most tedious task – creating links.
Let’s look at how you can use the plugin.
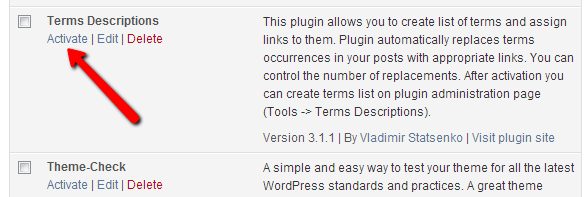
Step 1. Download, install and activate the plugin.
The «Terms Descriptions» plugin is distributed under terms of GPLv3 license. So you can completely free download it from official WordPress plugin repository.
Optionally you can get it from GitHub repository.
Then unpack it to wp-content/plugins folder and activate Terms Descriptions on Plugins page in the admin section of your blog.
Step 2. Create terms.
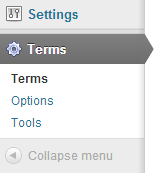
After plugin activation you will see the Terms item in the main menu with three sub items: Terms, Options and Tools.
All tools for managing terms are located on the Terms page. Here you can view, create, edit and delete terms.
Let’s try to create term for the word “child”. Note, that the plugin allows you to use different word forms simultaneously. Simply split them with “|” symbol.
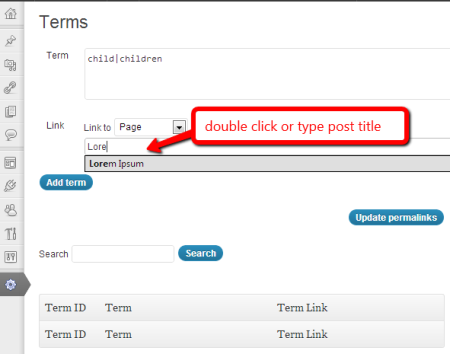
So, to create a term you should:
- enter all word forms in “Term” field;
- select page or post you want to link to;
- click on the “Add term” button.
The process is simple, but there are some nuances you should remember.
Terms Descriptions allow you to create internal and external links. So you should select link type in “Link to” list.
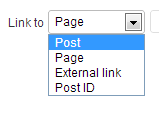
A “Post” and “Page” link type allow you to select one of the existing posts or pages. In this case you should enter post title in the link field. Note, when you begin typing, autocomplete list will appear or you can double click in the field to open autocomplete list without typing.
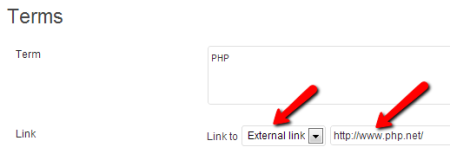
To create an external link you should select “External link” in “Link to” dropdown list and enter URL in the next field (with http://).
“Post ID” option allows you to use posts ID’s instead of titles.
If custom posts types where defined in your theme they will also appear in the dropdown.
When you finished with term parameters, press «Save» button and a new term will appear in the list.
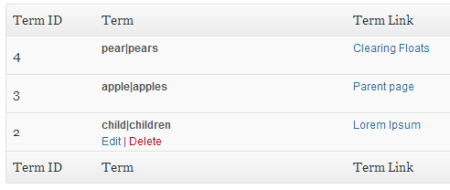
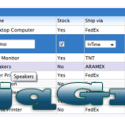
terms descriptions terms list
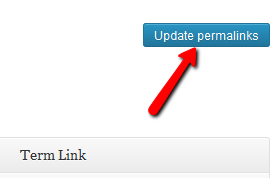
Important! To reduce server load the plugin saves permalinks to pages in the database when you save the term. So after changing permalink structure, you must press “Update permalinks” button on the “Terms” page.
Step 3. Configure plugin.
All plugin configuration options are located at the Terms -> Options page.
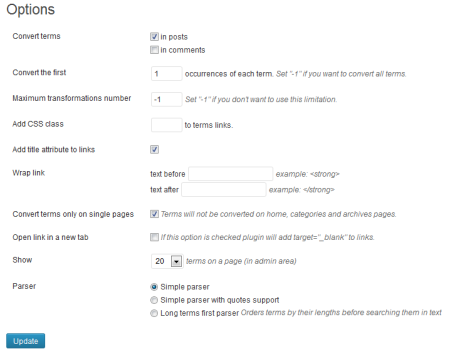
You can select where the plugin should replace terms with links (in posts, in comments or in both).
«Convert the first N occurrences of each term» option allows you to control how many times each term on each particular page will be replaced with links. This option is useful if terms are repeated very often in post content. To disable this feature set N = "-1".
“Maximum transformations number” option allows you to limit total terms-to-links conversions number. This option is useful if you have posts with many different terms. For example, you have a post with 5 different terms each of which appears 3 times. If you disable “Convert the first N occurrences of each term” and “Maximum transformations number” options (set their values to “-1”) the plugin will create 15 links. But if you set “Maximum transformations number” to “3” only 3 links will be created.
“Add CSS class” option allows you to visually highlight links.
“Wrap link” option allows you wrap link with custom tag. For example, if you set
text before – <span class="my-links">
text after – </span>
the plugin will create
<span class="my-links"><a href="http://term.url">term</a></span>
Check “Convert terms only on single pages” option if you didn’t want to convert terms on home, categories and archives pages.
“Open link in a new tab” option will add target="_blank" to links.
“Show N terms on a page” sets the terms list size on the Terms -> Terms page.
“Parser” option defines how the plugin will analyses post content.
Currently the plugin supports three types of parsers.
“Simple parser” uses “exact match” algorithm for terms searching.
“Simple parser with quotes support” will considers that terms could be surrounded with quotes.
“Long terms first” parser orders terms by their lengths before searching them in the post content. For example, if you created two terms “PHP” and “PHP programming language”, this parser at first will try to find and convert “PHP programming language” term and then “PHP”.
You can disable the plugin for particular post.
To do this, go to post edit page and check “Disable Terms Descriptions plugin for this post” checkbox.

Step 4 (optional). Backup you data.
The plugin offers several options to backup your data. All of them are located on the Terms -> Tools page.
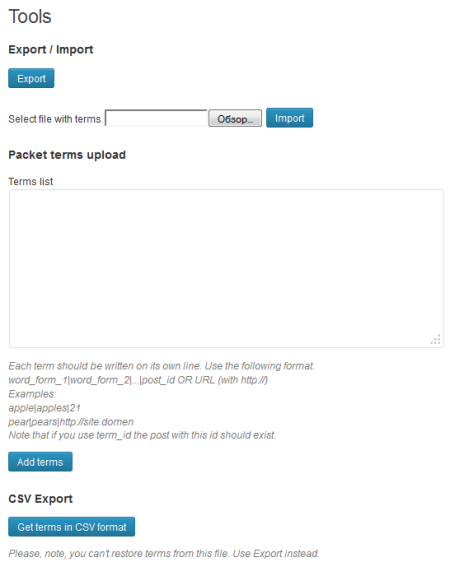
To create a backup simply press “Export” button and download the file. All data will be saved in JSON format. Accordingly “Import” button allows restoring data from this file. This tools are especially useful for moving terms to another blog.
“CSV Export” was designed for spreadsheets editors (Excel) support. If you have hundreds of terms and want to update part of them, it may be tedious to do this from the Terms screen. In this case press “Get terms in CVS format” and download the file. Open this with Excel and do any changes you want. To upload new terms use “Packet terms creation” tool.
Packet terms creation.
This tool is useful if you have a list of terms and didn’t want to create them one-by-one. To use this tool first of all prepare a text file with terms. Follow next rules while creating the file.
Each term should be written on its own line in the format:
word_form_1|word_form_2|...|post_id OR URL (with http://)
Examples:
apple|apples|21
pear|pears|http://site.domen
Note that if you use term_id the post with this id should exist.
If you have any questions about the plugin you are welcome to ask them here.